Give each person a position, such as Control Room Operator, and a department, such as Operations. Then filter your training reports to see how one crew or one department is doing.
💡 Only Platform Admins can set up positions and departments. See Role Types.
Step 1: Create your lists
Your organization builds its own lists, so you can use the titles and department names you already use.
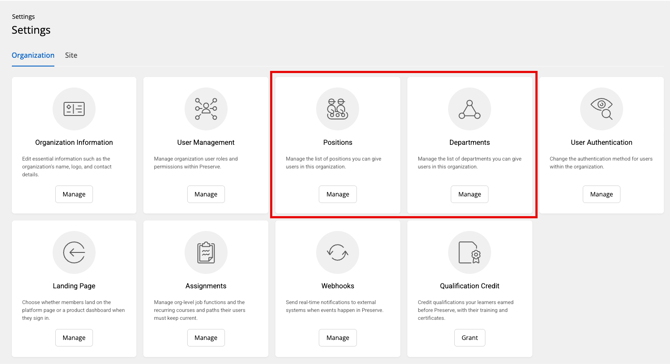
- Click your name in the top right and open Settings.
- On the Organization tab, click Manage on the Positions card.
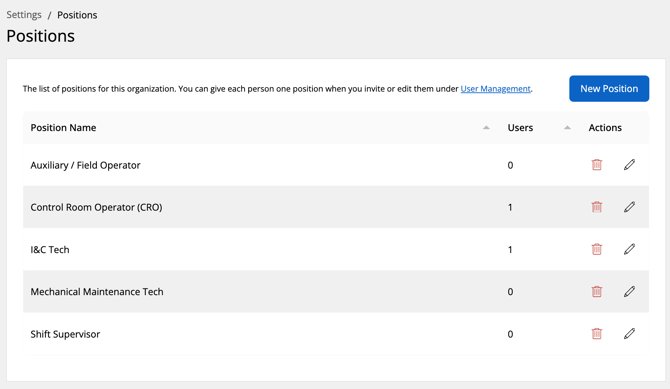
- Click New Position and enter a name, such as Control Room Operator. Repeat for each position.
- Go back to Settings and do the same on the Departments card with New Department.
Each list shows how many users have each position or department. Use the pencil to rename one, or the trash can to delete it.
💡 Both lists start empty. The Position and Department fields and report filters don't appear until you add at least one choice.
Step 2: Give each user a position and department
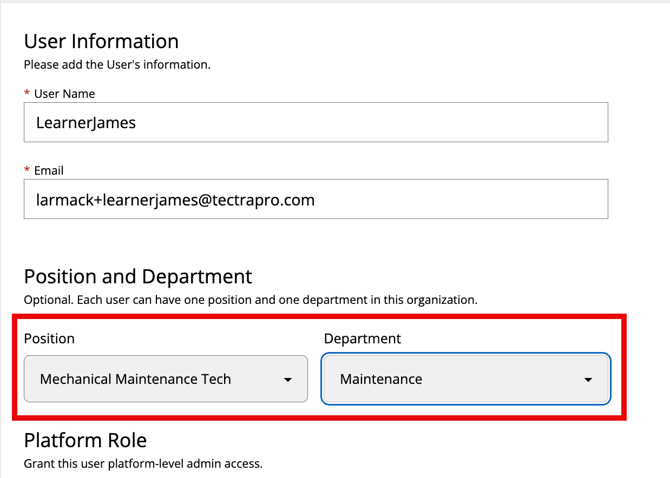
Each person can have one position and one department. Both are optional.
- One person at a time: in Settings, open User Management, open the user, and choose from the Position and Department menus.
- Many people at once: include them in your bulk invite file.
Both show in the user list, so you can see everyone's position and department at a glance.
Step 3: Filter your reports
- In Learn, open the Admin menu and click Reports.
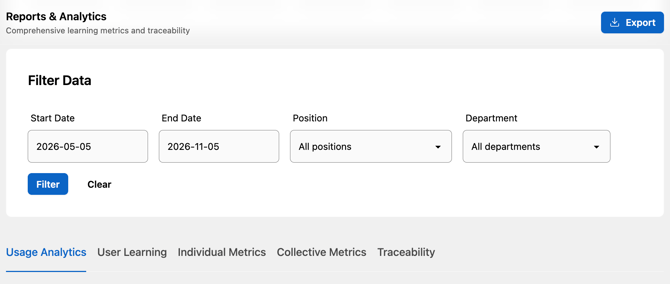
- Under Filter Data, choose a Position, a Department, or both, along with a date range.
- Click Filter. Every tab of the report updates, so you can see training progress for one crew or department, for example every Control Room Operator, or everyone in Maintenance.
Click Export to download the filtered data as a CSV. Click Clear to go back to everyone.