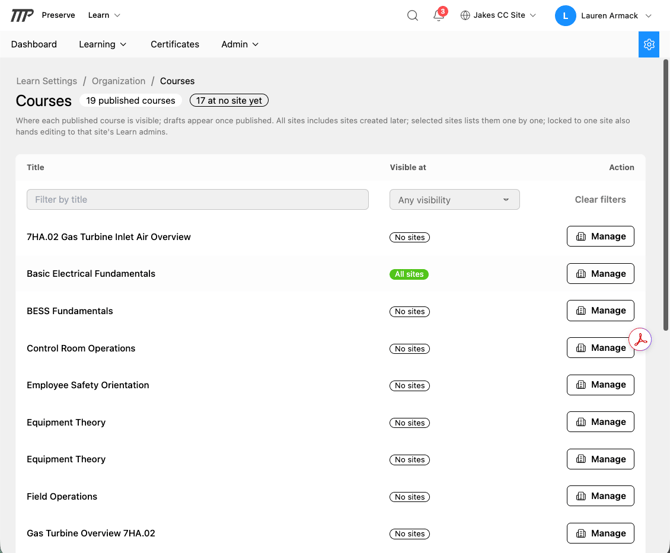
If you have multiple SCORM or cmi5 courses to bring into Preserve at once — for example, when migrating from another LMS — the bulk import feature lets you upload them all in a single step.
Step 1: Open Bulk Import
💡 If the courses are for your whole organization, switch the site selector at the top of the page to **Global** before you import.
Navigate to Learning → Courses and click the Bulk Import button at the top of the page.
Step 2: Add your package files
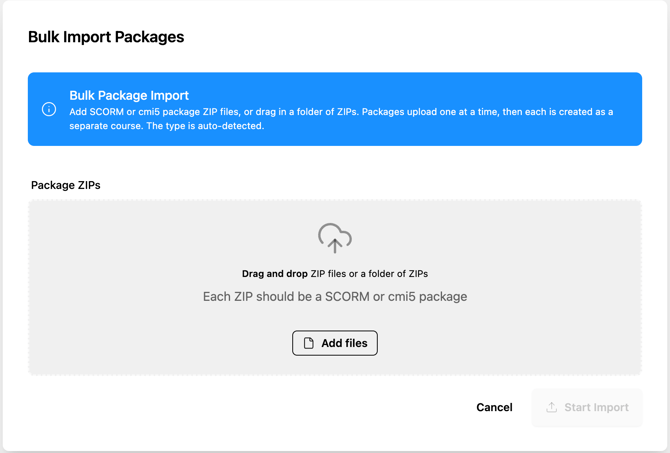
You'll see the Bulk Package Import screen with a drag-and-drop area labeled Package ZIPs.
You have two options:
- Drag and drop individual ZIP files directly onto the area
- Drag in a folder that contains your package ZIPs — Preserve will pick out the ZIP files automatically and skip anything else in the folder
You can also click Add Files to browse and select files manually.
💡 You can keep adding more files before starting the import — stage everything you want to upload first, then kick it off all at once.
Step 3: Start the import
When you're ready, click Start Import. Packages upload one at a time — each valid SCORM or cmi5 package becomes its own course in your Preserve library. Course titles are pulled from each package's manifest file automatically.
If you change your mind before starting, click Cancel.
A few things to know
- Only .zip files are processed — if you drag in a folder that contains other file types, those are skipped automatically
- Each ZIP should be a complete, valid SCORM 1.2, SCORM 2004, or cmi5 package; the type is auto-detected from the manifest
- Uploads larger than 2GB are supported
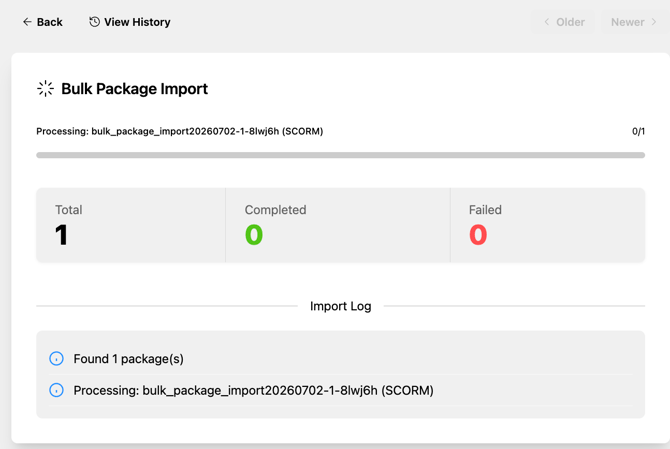
Step 4: Review your import history
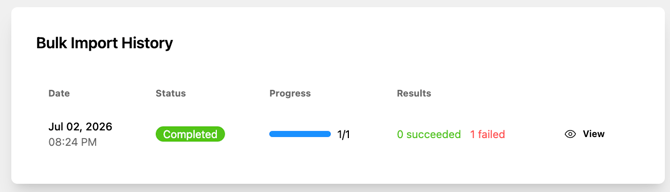
Click the View History link at the top of the Bulk Import page to see a log of all past bulk imports — useful for tracking what was imported when.
After importing
Each imported course starts in Draft status. Go to Learning → Courses and find your new courses under the Drafts section. From each course's edit page, you can review the course details, update the title and description, and publish when ready.
Once a course is published, choose which sites can see it. You can do this one course at a time from each course's edit page (Site Visibility → Manage), or set many courses at once from Learn Settings (the gear icon at the right end of the Learn navigation) → Organization tab → Courses → Manage. Learners at a site won't see a course until it's made available there.